1. Creating a Workflow
1.1 Start a New Workflow
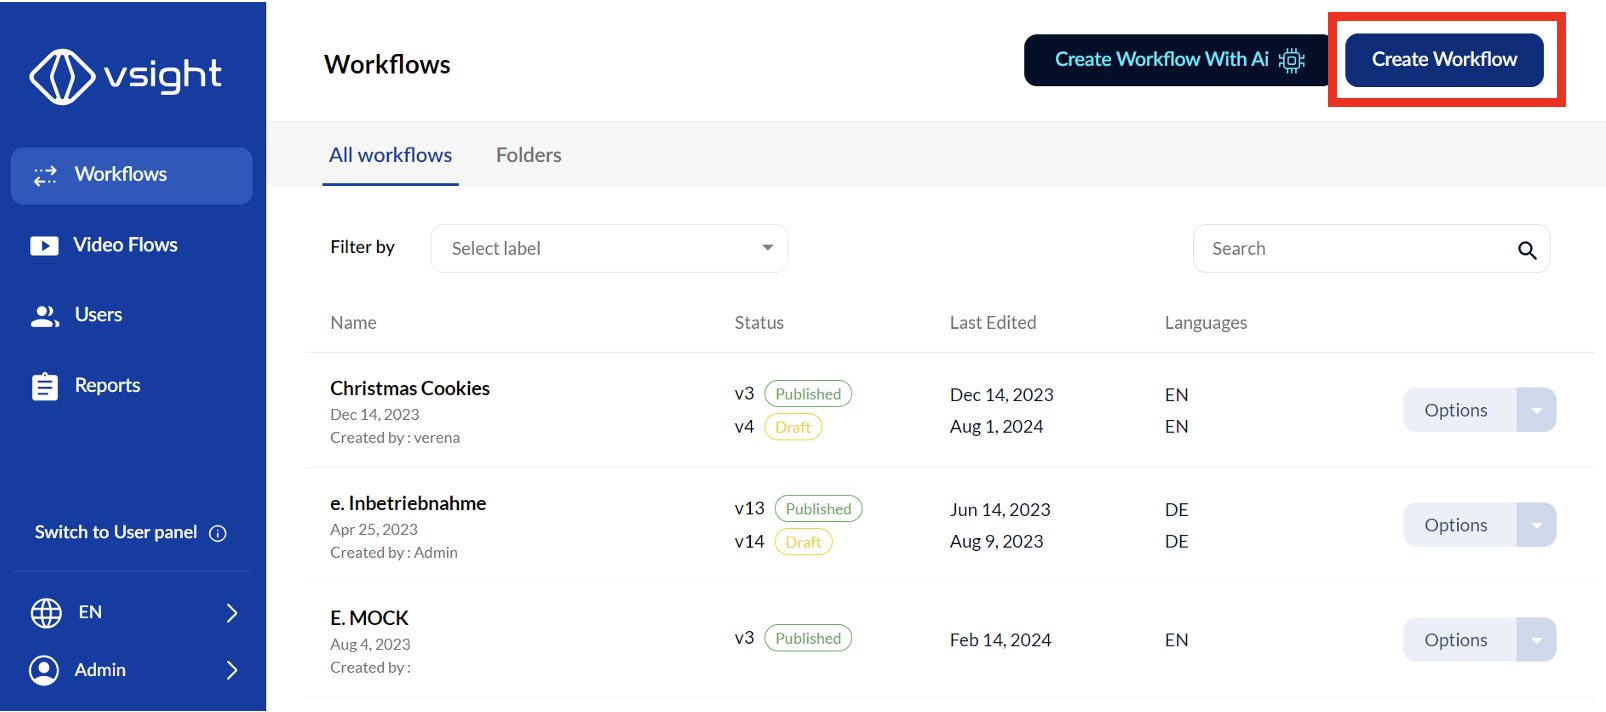
✅ Click “Create Workflow” to begin designing your workflow.
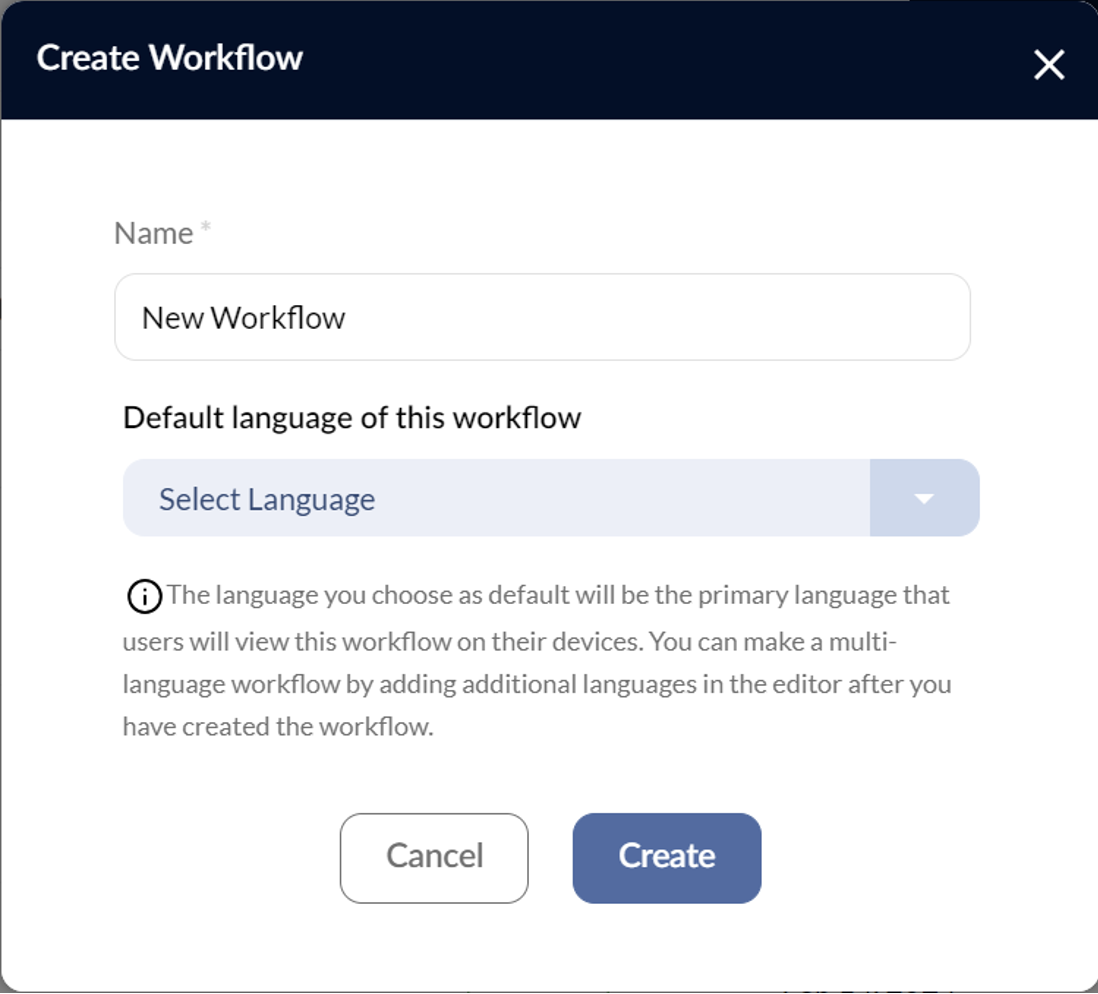
✅ Enter a workflow name and select the language in which you want to create the workflow.
2. Workflow Details
2.1 Storing Workflow Information
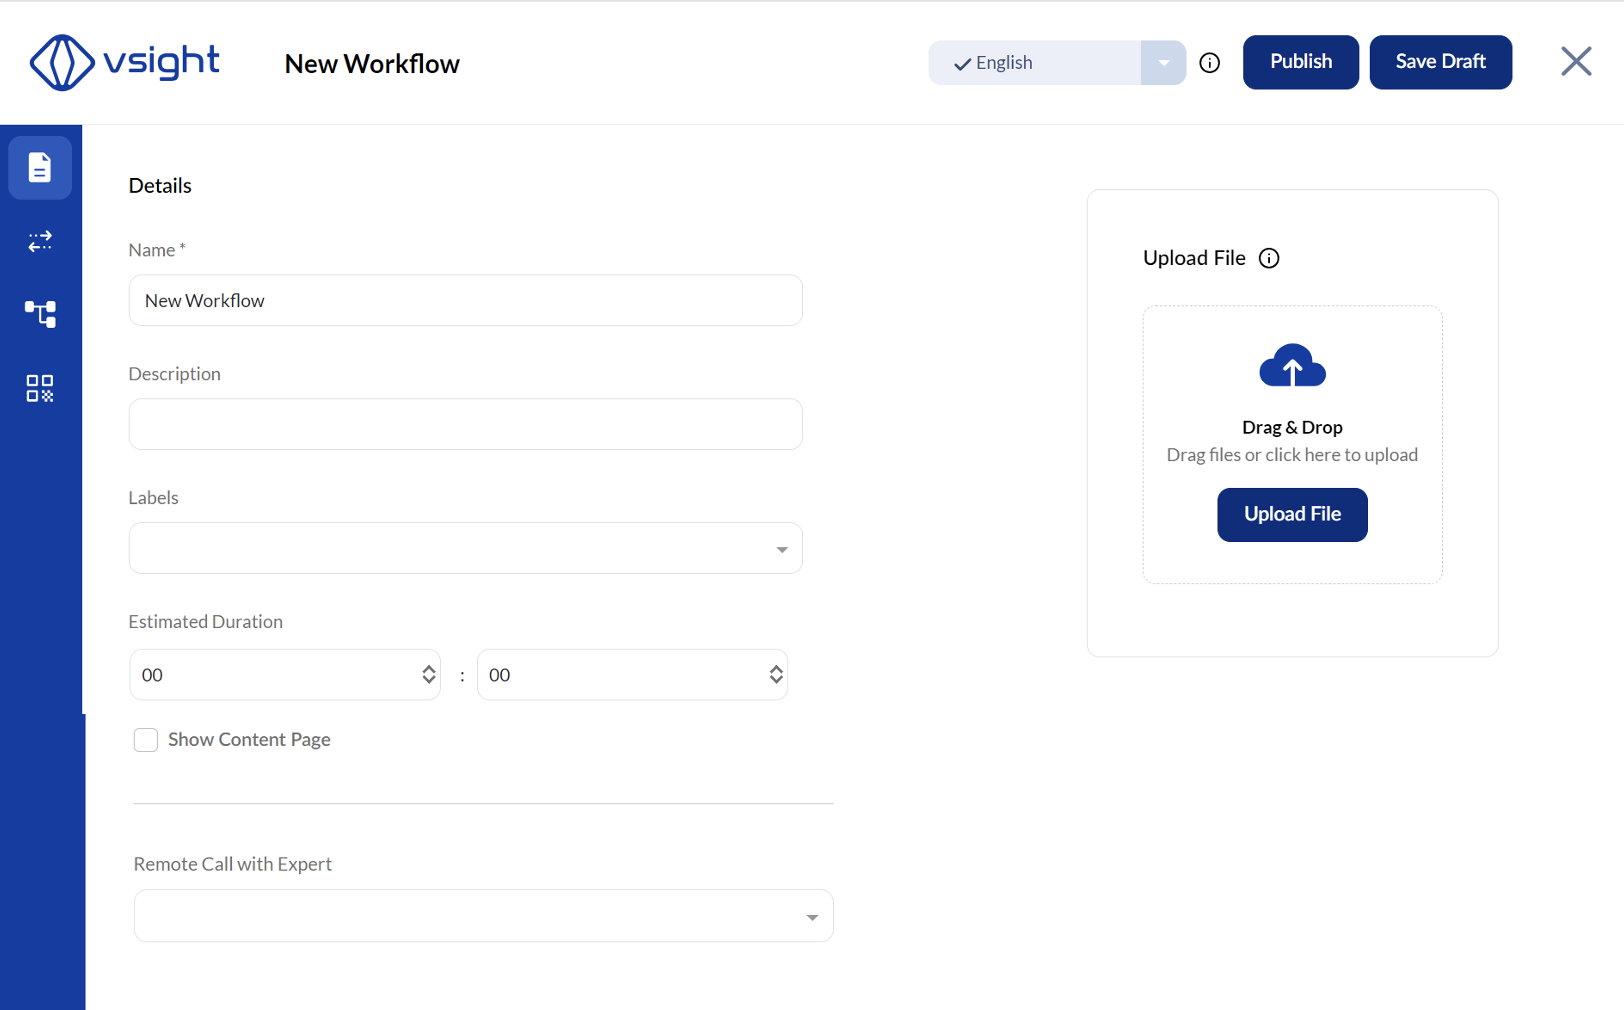
In the Workflow Details section, you can enter key details about the workflow: ✅ Name – Give your workflow a descriptive title.
✅ Description – Provide an overview of the workflow’s purpose.
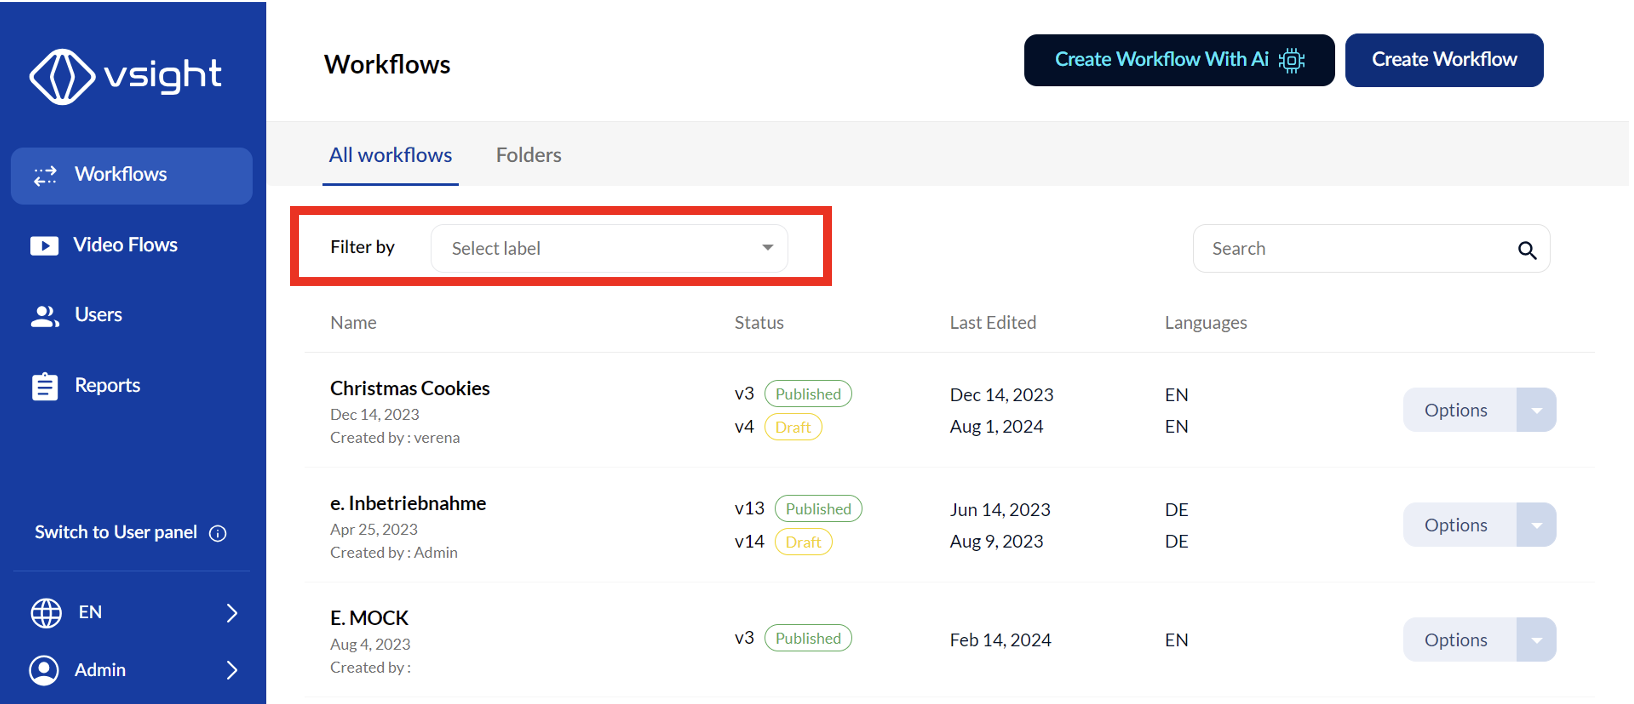
✅ Label – Add searchable tags to easily find workflows later.
✅ Estimated Duration – Specify the expected completion time.
✅ Show Content Page – Automatically generates a content page for quick navigation between steps.
✅ Expert Assignment – Assign an expert to be called at a specific step if needed.
✅ File Upload – Attach files such as security instructions, tool lists, or authorizations for reference before starting the workflow.
3. Saving, Publishing, and Version Control
3.1 Save and Publish
✅ Click “Save” to store changes.
✅ Click “Publish” to make the workflow accessible to users.
✅ Users can only access published workflows; drafts remain unavailable.
3.2 Editing and Versioning
✅ When editing a published workflow, save it as a draft to prevent interruptions.
✅ Each time a workflow is updated, a new version number is created.
✅ Users will continue working with the last published version until the new version is published.
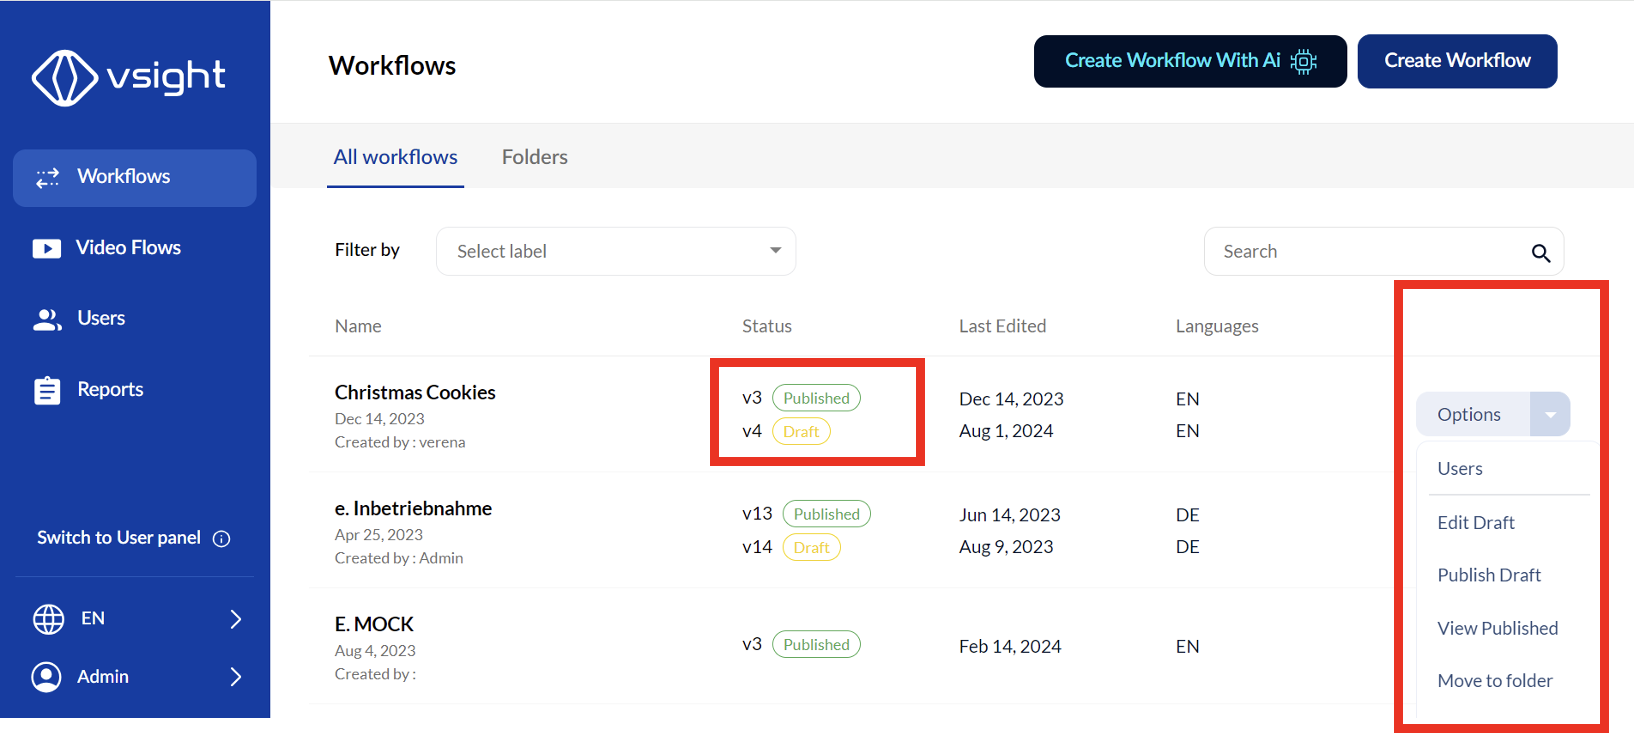
3.3 Managing Workflow Versions
✅ On the home screen, go to “Options” to view or edit different versions.
✅ Workflows can be categorized into folders for better organization.
3.4 Deleting Workflows
✅ Drafts that are deleted cannot be recovered.
✅ Published workflows can be restored for up to 30 days by the VSight team in case of emergency.
By following these steps, you can efficiently create, update, and manage workflows in VSight Workflow, ensuring a structured and organized workflow management system.
📌 Need More Help? – See further information at VSight Help Center or contact support for assistance.